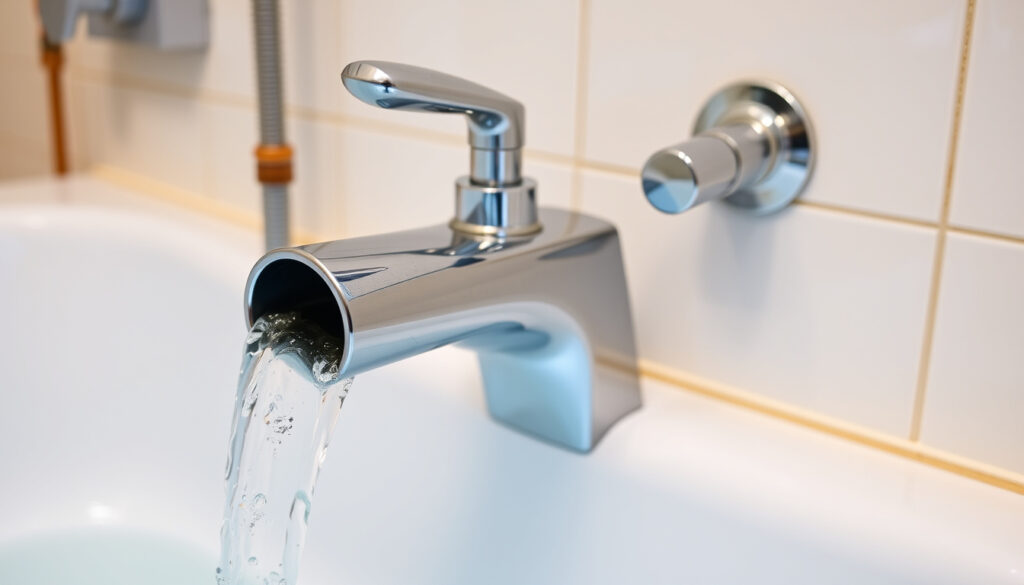
How to Install a Bathtub Faucet: DIY Step-by-Step
A dripping bathtub faucet or a dated fixture can make even the most relaxing bath feel less inviting. The good news: Replacing it yourself is a straightforward project that most homeowners can tackle with basic tools.
Estimated installation time: 2 hours ·
Difficulty level: Easy (Beginner) ·
Common attachment type: Screw-on or compression
Quick snapshot
- Always shut off the water supply before starting — Mesa Shower (DIY guide)
- Use plumber’s tape on threaded connections — Rona (home improvement retailer)
- Most tub spouts screw on or use a set screw — Mesa Shower (DIY guide)
- Exact cost varies by faucet type and region
- Whether you need a plumber depends on your plumbing condition
- No critical timeline constraints — installation can be completed in one session Mesa Shower (DIY guide)
- Test for leaks, verify flow, and enjoy your new faucet Mesa Shower (DIY guide)
Five key facts about the job, one pattern: preparation and testing are just as important as the actual connection work.
| Label | Value |
|---|---|
| Tools needed | Adjustable wrench, pipe wrench, plumber’s tape, screwdriver, bucket |
| Time required | 2 hours (based on typical DIY guides) |
| Difficulty | Beginner |
| Common mistakes | Not using tape, overtightening, forgetting to shut off water |
| Estimated cost | $20–$100 for new faucet, plus tools if needed |
Is it easy to install a bathtub faucet?
Most DIYers can complete the installation in about two hours, and the only specialized skill required is knowing how to turn a wrench. The Mesa Shower (DIY guide) calls it a straightforward task for anyone with basic plumbing tools.
What tools are needed?
- Adjustable wrench and pipe wrench — Mesa Shower (DIY guide)
- Plumber’s tape (PTFE) — Rona (home improvement retailer)
- Screwdriver, bucket, and a rag for cleanup
How long does it take?
The Mesa Shower (DIY guide) estimates about two hours for a standard replacement. That includes shutting off the water, removing the old faucet, cleaning the threads, and installing the new one.
The two-hour estimate assumes you have the right tools and no surprises. If you hit corroded pipes or a hidden shutoff valve, the time can double — but that’s still a single Saturday morning.
How does a bathtub faucet attach to the wall?
Bathtub faucets use one of three attachment methods: screw-on threads, a set screw, or a compression fitting. Knowing which one you have saves time and prevents damage.
Do tub spouts screw on?
Yes, many tub spouts screw directly onto a threaded pipe stub-out. The Mesa Shower (DIY guide) explains that for threaded spouts, you wrap PTFE tape in the correct direction and hand-tighten until snug.
What is a slip-fit connection?
A slip-fit spout slides over the pipe and is held in place by a set screw. The same guide notes that burrs on the pipe should be smoothed so the spout seats properly.
How to secure a wall-mounted faucet
Wall-mounted faucets often require access to the wall cavity to fasten a mounting bracket. The Rona (home improvement retailer) guide advises checking that supply lines align with the inlet connections and modifying line length if needed.
The implication: your attachment method determines your tools and technique. Screw-on: tape and hand-tighten. Slip-fit: push and set screw. Wall-mount: call a pro if you’re not comfortable cutting into drywall.
Do I need a plumber to replace a bathtub faucet?
For a standard replacement, the answer is usually no. But certain conditions tip the scale toward hiring a professional.
When should I call a plumber?
- If you encounter corroded or rusted pipes that may break during removal
- If the shutoff valves are old or inaccessible
- If you need to move the water supply lines or replace the valve behind the wall
The RBROHANT (freestanding faucet guide) warns against over-tightening fittings, a common DIY mistake that can crack the faucet base.
What are the risks of DIY?
The biggest risks are leaks, damage to the faucet, and water damage behind the wall. The Mesa Shower (DIY guide) emphasizes that failing to shut off the water first is the most common—and most expensive—error.
DIY saves $150–$500 in labor costs, but a single mistake (like a loose connection) can cause water damage that costs more than the plumber’s fee. If your pipes are more than 20 years old, paying a professional for inspection may be the smarter bet.
What are common bathtub installation mistakes?
Even experienced DIYers can slip up. Here are the most frequent errors and how to avoid them.
What tools are essential?
Beyond the basic wrench and tape, a basin wrench and a small mirror help access tight spots. The Mesa Shower (DIY guide) recommends having a bucket handy to catch drips when you open the pipes.
How to avoid leaks?
- Use plumber’s tape on every threaded connection — Rona (home improvement retailer)
- Hand-tighten, then give a quarter-turn with a wrench — overtightening can crack the fitting
- Test for leaks by turning the water on slowly and checking each joint
What about incorrect measurements?
For deck-mounted or floor-mount faucets, measurement errors are common. The Rona (home improvement retailer) guide says to mark an opening of approximately 7 by 7 inches in the floor for a floor-mount faucet, accounting for the finished floor height.
The catch: most leaks come from skipping tape, overtightening, or forgetting to clean old debris. The cure: apply tape, tighten gently, and always test before sealing the wall.
How to install bathtub faucet with shower
This step-by-step covers the most common scenario: replacing a wall-mounted bathtub faucet with a shower diverter. Follow these steps for a secure, leak-free installation.
How to install bathtub faucet handle
- Turn off the water supply at the shutoff valves and open the faucet to relieve pressure — Mesa Shower (DIY guide)
- Remove the old handle and trim by unscrewing the set screw or retaining nut
- Clean the pipe threads and remove old tape or debris
- Apply plumber’s tape to the threads in a clockwise direction — Rona (home improvement retailer)
- Thread the new faucet or spout onto the pipe by hand until snug, then secure with the set screw if applicable
- Attach the handle and trim, then turn the water back on slowly and check for leaks
How to install a tub spout with diverter
For a slip-fit spout with a diverter (a button that redirects water to the shower), align the spout with the pipe, push it fully into place, and tighten the set screw. The Mesa Shower (DIY guide) says to follow product instructions for the diverter orientation.
How to replace bathtub spout
Replacing a tub spout is often the easiest part. If it’s threaded, unscrew it counterclockwise; if it’s slip-fit, loosen the set screw and pull it off. The same guide advises flushing the supply lines before final assembly to keep dust out of the new fixture.
A correctly installed diverter switches between tub and shower without dripping. If you skip the tape or misalign the diverter, you’ll end up with water trickling from the spout whenever the shower is on — a frustrating fix that requires disassembly.
“It’s an easy and simple job that you can do in about two hours.”
“Mark an opening of approximately 7 by 7 inches in the floor, accounting for the finished floor height.”
Rona (home improvement retailer)
For homeowners tackling a floor-mount or freestanding faucet, the same principles apply: measure twice, tape every thread, and test before you call it done. The RBROHANT (freestanding faucet guide) reminds you to level and secure the tub first and to wrap Teflon tape around the hot and cold supply lines before connecting them to the floor risers.
Clarity section
Confirmed facts
- Always shut off water supply before starting
- Use plumber’s tape on threaded connections
- Most tub spouts screw on or use a set screw
- Test for leaks after installation
What’s unclear
- Exact cost varies by faucet type and region
- Whether you need a plumber depends on plumbing condition
The pattern is clear: the confirmed facts are the non-negotiable steps that every installer must follow. The unclear items are the variables that depend on your specific situation. For a first-time installer, the confirmed list is your safety net — skip any of those and you’re asking for a leak.
monblari.com, aleashafaucet.com, images.thdstatic.com, youtube.com, dupontplumbing.com
Frequently asked questions
What tools do I need to install a bathtub faucet?
You’ll need an adjustable wrench, pipe wrench, plumber’s tape, screwdriver, and a bucket. Mesa Shower (DIY guide) lists these as essentials.
How do I remove an old bathtub faucet?
Shut off the water, remove the handle and trim, then unscrew the spout or loosen the set screw. Clean the pipe threads thoroughly before installing the new one.
Can I install a bathtub faucet without a plumber?
Yes, for standard replacements. If you encounter corroded pipes or need to move supply lines, it’s safer to call a professional.
How do I prevent leaks after installation?
Use plumber’s tape on all threaded connections, hand-tighten plus a quarter-turn, and test by turning the water on slowly. Rona (home improvement retailer) advises checking every joint.
How long does it take to install a bathtub faucet?
Most DIYers finish in about two hours, including removal and cleanup. Mesa Shower (DIY guide) confirms this timeline.
Do I need to use plumber’s tape?
Yes, on every threaded connection. It creates a watertight seal and prevents leaks. Rona (home improvement retailer) recommends wrapping it in the correct direction.
What if my faucet drips after installation?
Check the connections for tightness and ensure the plumber’s tape is applied correctly. If the drip persists, the valve seat may need replacement or you may have a damaged cartridge.
Should I replace the valve when installing a new faucet?
Only if the old valve is corroded or leaking. For a straight replacement, the existing valve is fine as long as it’s in good condition.
Related reading: How to Unclog a Sink: Fast DIY Methods That Work · Electric Fireplace TV Stands: What ‘Best Rated’ Really Means
More related posts
 Cortes De Cabello Para Hombres Modernos – Face Shape Guide
 Phone Deals Near Me: Cheapest & Best Value in Ireland
 How Old Is Bonnie Blue? Age, Real Name, and Marriage Facts
 IRS $2,000 Direct Deposit 2025: Fact Check & Guide
 A Court of Thorns and Roses Series – Reading Order Guide
 One Battle After Another Showtimes – Theater Listings and Ticket Info
 Houston Rockets vs Phoenix Suns Match Player Stats – Box Score & Key Insights
 Jersey Shore Family Vacation 2026: Season 9 & Cast Net Worth
